Developing on Windows
This guide will introduce you to deploying and working on the Acasi CTF platform on Windows by utilizing WSL 2 + Docker Desktop.
Install WSL 2 and Docker Desktop
As WSL 2 and Docker Desktop are commercial products, there is quite extensive documentation on how to install both of these available on their respective websites. The appropriate links are provided below.
Configure Docker Desktop
Enable WSL 2 Backend
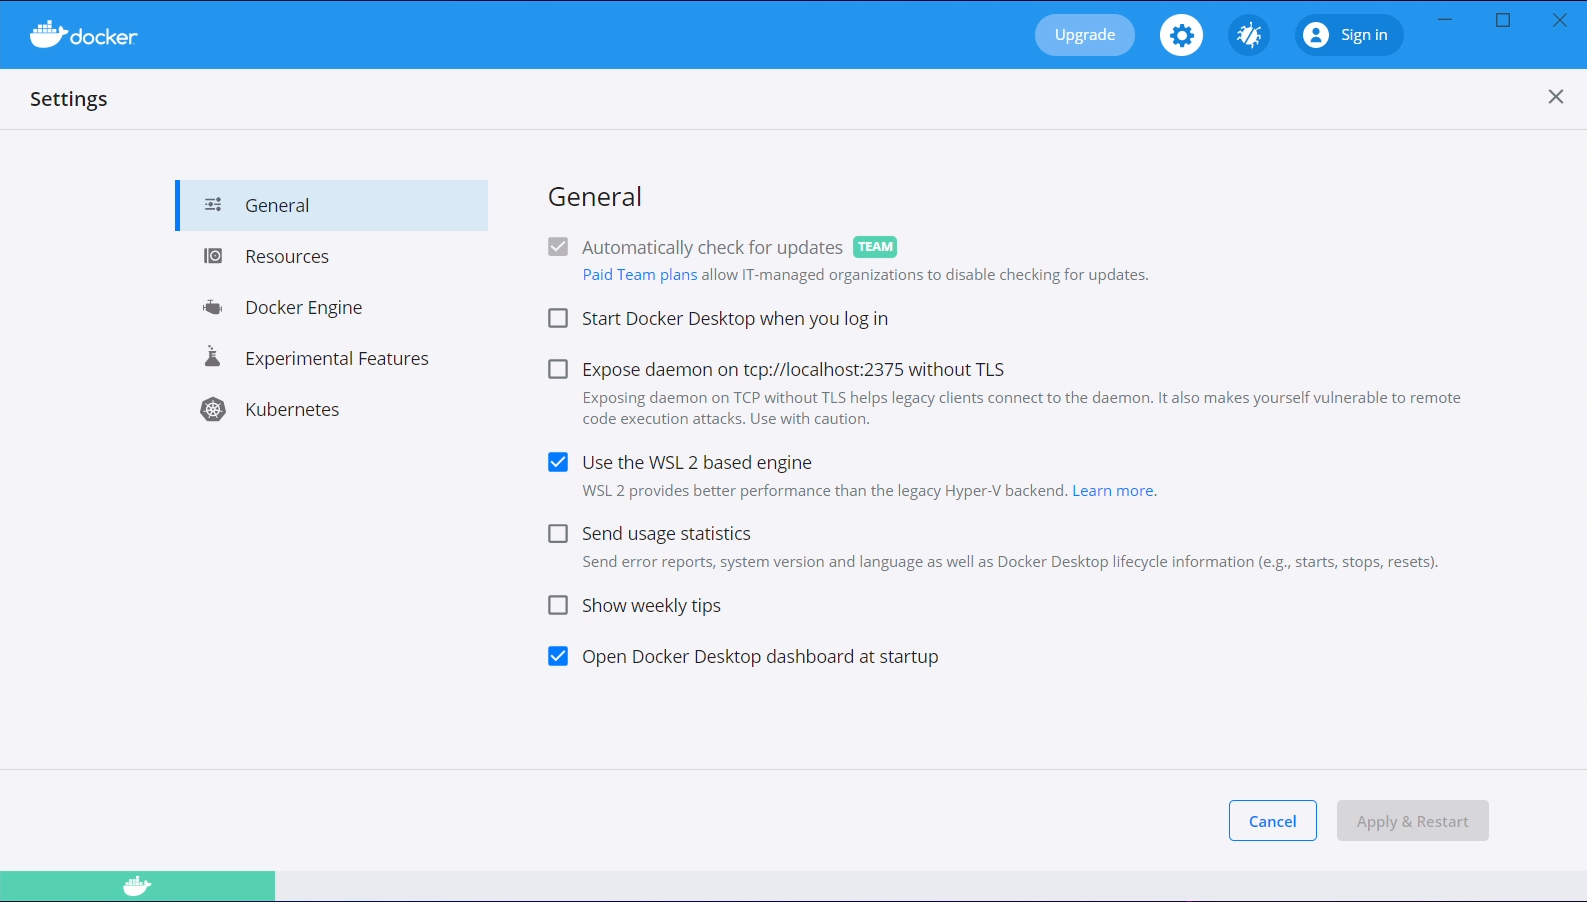
To use Docker from within our WSL 2 virtual machine, we need to enable the WSL 2 based engine from within Docker Desktop. From the main Docker Desktop window, click the settings gear and check the "Use the WSL 2 based engine" option.
Additionally, navigate to "Resources", then to "WSL Integration". Check both the "Enable integration with my default WSL distro", and the "Ubuntu-20.04" slider.
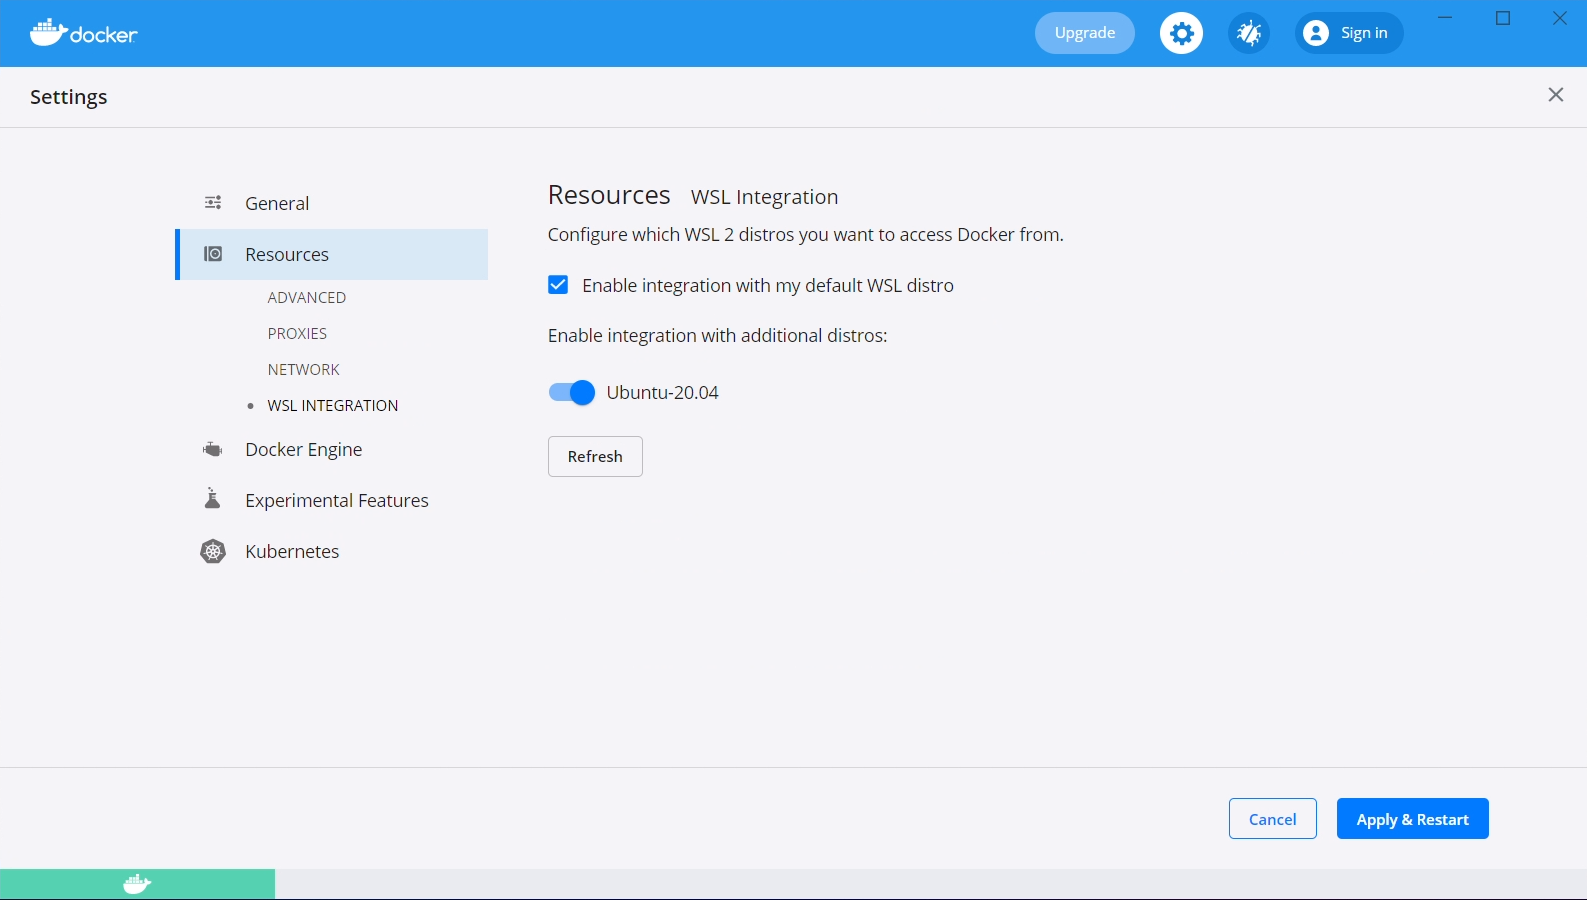
After both of these steps have been taken, click the "Apply & Restart" button.
Add hosts entry
As an administrator, we need to add an entry to our local hosts file so that the "ctf" domain
directs to our local web server. Microsoft really enjoys hiding files deep inside the Windows
directory, the specific file we're looking for is C:\Windows\system32\drivers\etc\hosts.
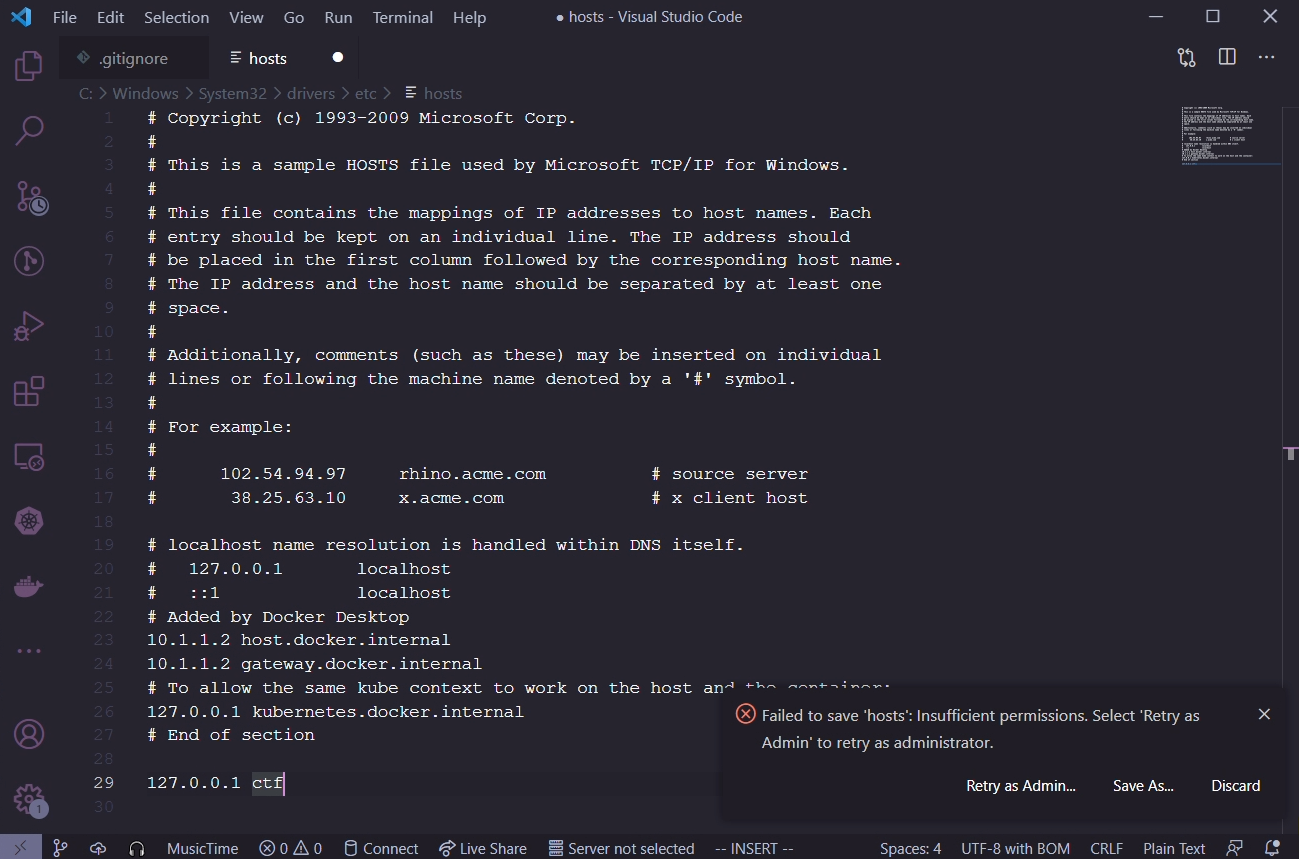
The contents we want to add are as follows, do not remove anything from the file.
127.0.0.1 ctf
Visual Studio Code
If you have Visual Studio Code installed, open the file in there, and Code will ask if you want to escalate privileges in order to save the file.
Notepad
If you don't have Visual Studio Code installed, run Notepad as administrator. Open the hosts file and add the changes, then save it.
Install Kubernetes utilities
The following script will download and install a few utilities that we are going to use in the rest of this guide and for development on the platform.
curl https://raw.githubusercontent.com/acasi-ctf/docs/main/scripts/install-k8s-deps.sh | bash
Configure WSL 2
Create WSL user
In your WSL prompt, run the following, substituting USERNAME for the username of your choosing.
# Add new user
useradd -m USERNAME

# Set your user password
passwd USERNAME

# Add yourself to the sudo group
gpasswd --add USERNAME sudo
Edit /etc/wsl.conf and insert the following contents, substituting USERNAME with your chosen username from the prior step.
[user]
default=USERNAME

[interop]
appendWindowsPath=false
After applying this configuration, open a PowerShell window, run this WSL command and then reopen your WSL shell, as this will force it to stop.
wsl --shutdown
Configure minikube
minikube config set driver docker
minikube start
Add Bitnami Helm repo
helm repo add bitnami https://charts.bitnami.com/bitnami
Install Ingress controller
An ingress controller gives us the ability to run one web server which will proxy to one or more backend servers, allowing us to share a single hostname between those multiple backend servers.
kubectl apply -f https://raw.githubusercontent.com/kubernetes/ingress-nginx/controller-v0.48.1/deploy/static/provider/cloud/deploy.yaml
Clone and build source
Clone source
# Clone source from Git using SSH
git clone git@github.com:acasi-ctf/ctf.git

# Alternatively, use HTTPS if you don't have an SSH key installed
git clone https://github.com/acasi-ctf/ctf.git
Temporary step: check out dev_docs_branch
cd ctf
git checkout dev_docs
Build Docker images
Now, build the Docker images for the platform. Ensure you're in the directory of the ctf repository.
# Activate the Docker environment
eval $(minikube -p minikube docker-env)

# Build docker images
make docker
Deploy
Create namespace
Kubernetes namespaces are a method of isolating resources, and is good practice to keep separate projects in different namespaces for this reason.
# Create ctf namespace
kubectl create ns ctf

# Switch to new namespace
kubens ctf
Create and deploy manifests
cd deploy

./generate_ssh_keys.sh minikube
cd minikube
helm install postgres bitnami/postgresql --values postgres-values.yaml
cd ..

kustomize build minikube > minikube.yaml
kubectl apply -f minikube.yaml
Migrate the database
This is a potential task for improvement.
Currently, we need to manually migrate the PostgreSQL database. This is a fairly simple procedure, but ideally would be automated in the future.
We need to get a shell for the pod that runs the frontend API. List the pods running in the ctf namespace like so.
☁  ~  kubectl get pods
NAME                                         READY   STATUS        RESTARTS   AGE
ctf-frontend-584b4b9874-26vxx                1/1     Running       0          31d
ctf-operator-759457f978-d4q76                1/1     Running       0          31d
ctf-termproxy-69dc5c48cf-2pcl9               1/1     Running       0          31d
ctf-ui-dd5c4476b-lbc28                       1/1     Running       0          31d
postgres-postgresql-0
Locate the pod that starts with ctf-frontend. Make a note of the full name, in our case it is
ctf-frontend-584b4b9874-26vxx. Execute a bash shell in the pod and run the commands as provided.
☁  ~  kubectl exec -it ctf-frontend-584b4b9874-26vxx -- /bin/bash
root@ctf-frontend-584b4b9874-26vxx:/app# cd frontend
root@ctf-frontend-584b4b9874-26vxx:/app/frontend# flask db upgrade
[...]
INFO  [alembic.runtime.migration] Context impl PostgresqlImpl.
INFO  [alembic.runtime.migration] Will assume transactional DDL.
INFO  [alembic.runtime.migration] Running upgrade  -> 6e85efd406c7, Initial migrations
INFO  [alembic.runtime.migration] Running upgrade 6e85efd406c7 -> 5213f9e65a8c, Add documentation table and minor adjustments
root@ctf-frontend-f7f4f445f-8tzkr:/app/frontend# exit
If you see at least a couple of Running upgrade lines, the migration succeeded.
Accessing the UI
To access the UI, we need to enable the minikube tunnel. In your WSL shell, run minikube tunnel.
It should be noted that you will need to have the tunnel running during any development work, it is
not a permanent operation. You should see output similar to the following, requiring your sudo
password.
☁  ~  minikube tunnel
❗  The service ingress-nginx-controller requires privileged ports to be exposed: [80 443]
🔑  sudo permission will be asked for it.
🏃  Starting tunnel for service ingress-nginx-controller.
[sudo] password for lgorence:
The UI should now be accessible from your Windows machine by navigating to https://ctf/. As this is running locally (nor is it a valid TLD), you will not have a valid SSL certificate, and your browser will likely require you to accept the security risk. Brave may have issues with this, not allowing you to bypass the risk.